> ## Documentation Index
> Fetch the complete documentation index at: https://docs.simulant.tech/llms.txt
> Use this file to discover all available pages before exploring further.
# Members and roles
> Invite teammates to your workspace and control what they can do with roles.
A **workspace** is shared by your team. Everything in it — datasets, cohorts, creatives, tests, and focus groups — is visible to its members according to their role.
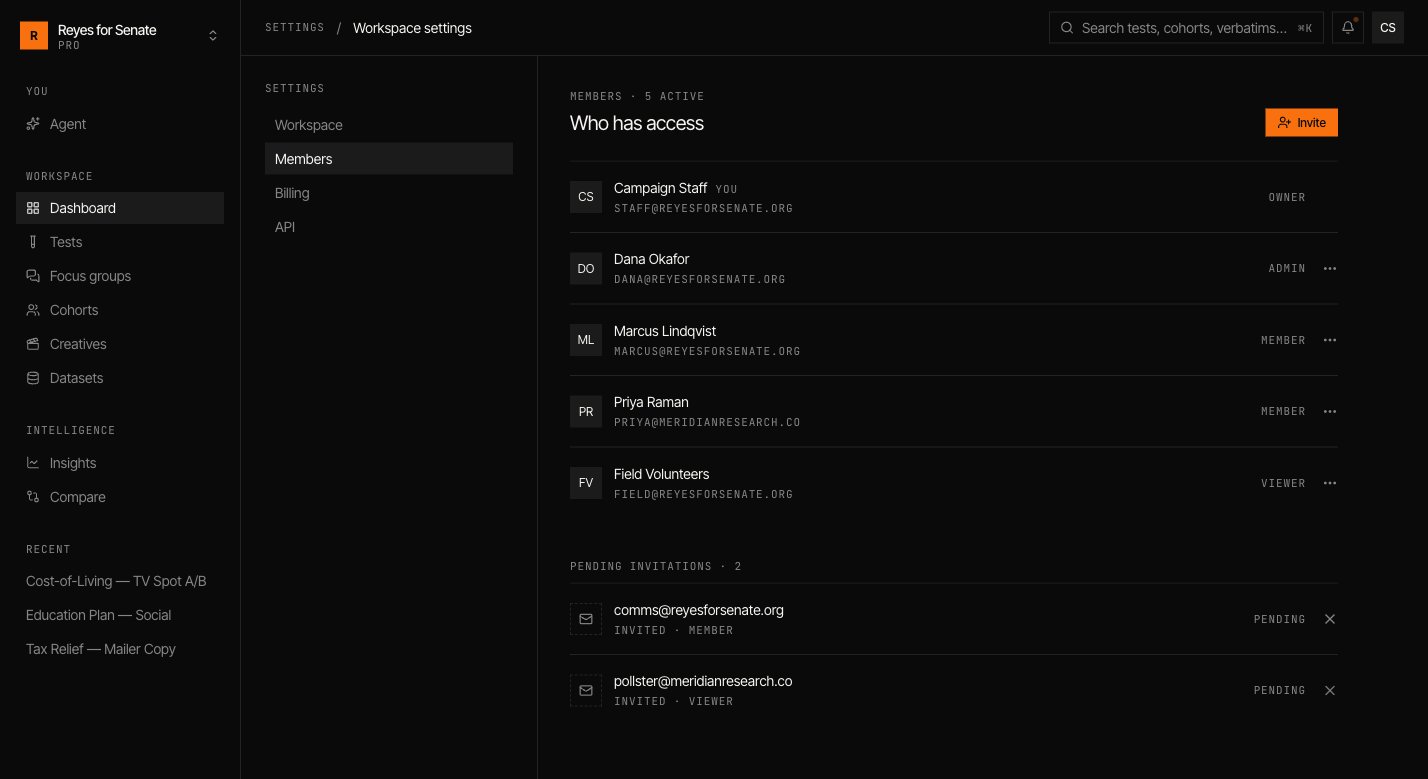
## Invite members
Go to **Settings → Members** and invite teammates by email. Add several addresses at once and choose the role they'll join with. Each person gets an invite link; when they accept, they join the workspace.
You can see pending invites, resend or revoke them, and remove members from the same screen.
 ## Roles
| Role | Can do |
| ---------- | ---------------------------------------------------------- |
| **Owner** | Full control, including billing and deleting the workspace |
| **Admin** | Manage members, datasets, and all workspace content |
| **Member** | Create and run cohorts, tests, and focus groups |
| **Viewer** | View results and shared work, without editing |
Assign the least-privileged role that lets someone do their job. You can change a member's role or remove them at any time from **Settings → Members**.
## Multiple workspaces
You can belong to more than one workspace — for example, one per client or team. Switch between them with the **workspace switcher** in the top-left of the sidebar, or create a new one from the same menu.
See what your plan includes and manage billing.
## Roles
| Role | Can do |
| ---------- | ---------------------------------------------------------- |
| **Owner** | Full control, including billing and deleting the workspace |
| **Admin** | Manage members, datasets, and all workspace content |
| **Member** | Create and run cohorts, tests, and focus groups |
| **Viewer** | View results and shared work, without editing |
Assign the least-privileged role that lets someone do their job. You can change a member's role or remove them at any time from **Settings → Members**.
## Multiple workspaces
You can belong to more than one workspace — for example, one per client or team. Switch between them with the **workspace switcher** in the top-left of the sidebar, or create a new one from the same menu.
See what your plan includes and manage billing.